|
|
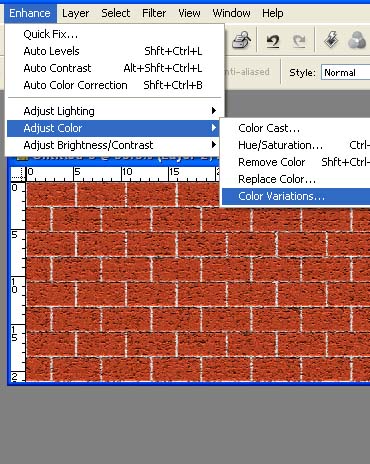
After I have found what I want to use as the main part of the wall I then play with the color
and age it or darken is always up to you what YOU want for your own room
|
|
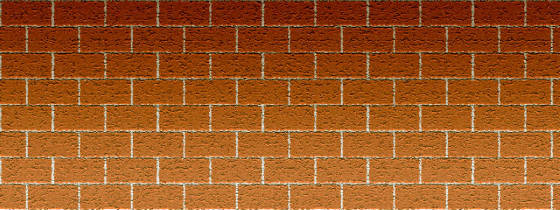
OK, from a red brick wall I have fiddled and played a bit, till I get this, well I am satisfied,
and ready for the next stage. Usually at this point I save this wall as my room template, that way if I have done the wall
and don't like it because the doors look wrong or that window's in the wrong place, I can easily start again, as its a sure
bet you will not get it how you like it if you have to start from scratch again.
|
|
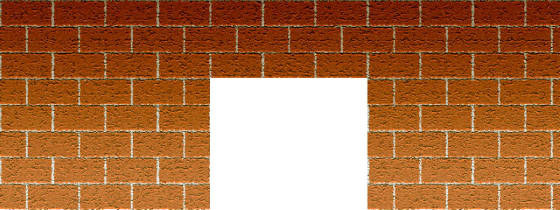
| Stage 4 |
|
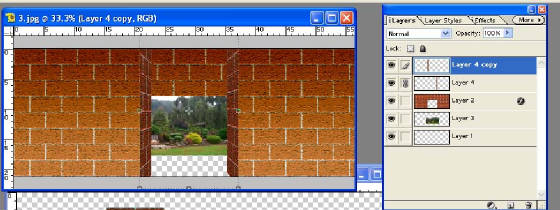
This is roughly where I want to have a door, or a walk through to out side, just cut it out.
BUT REMEMBER WHATS ON HERE WILL STRETCH ON THE WALLS.
|
|
| Stage 5 |
|
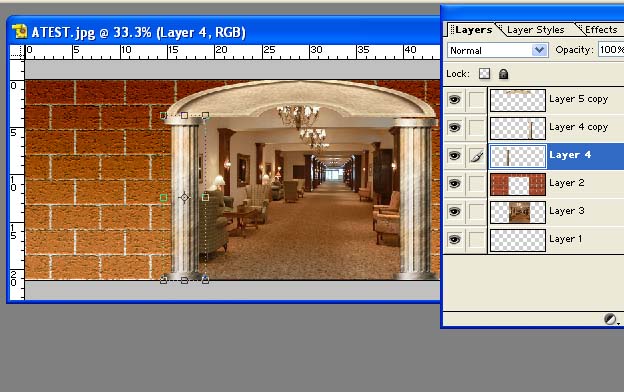
I have found the ideal view to look out on to, so have slid that behind my wall, also made
the walls either side of the cut to make it look like I am looking in to a porch or a small hall, if you look at my layer
box I have linked the two walls up and will lock together, we are taught NOT TO HAVE A LOT OF LAYERS, but in this case it
is needed.
|
|
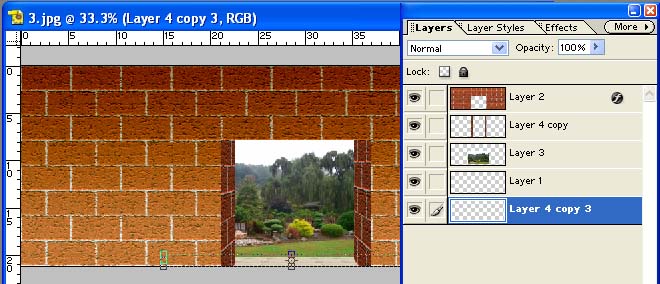
Now I have added using perspective tool a floor leading to the garden,
looking good so far, now to test it, flatten your wall, we may be lucky and got it right first time, name it put it in a folder
for this room on your desk top ( later you can move the folder to where you want it.)
|
|